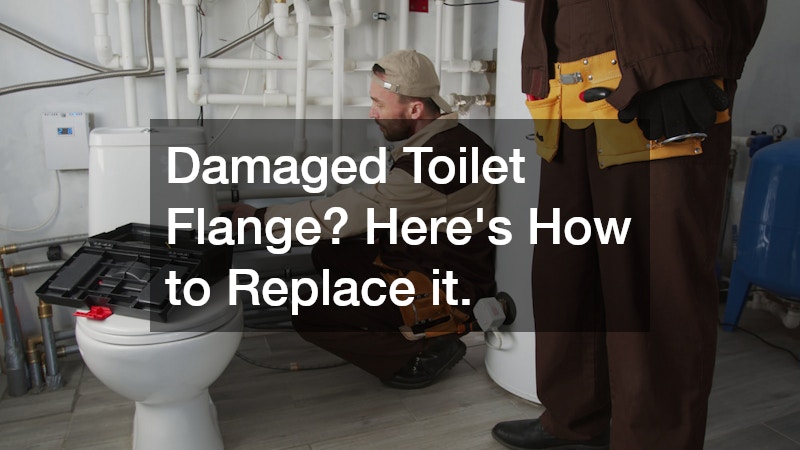

If you’ve noticed a leak around the base of your toilet or experienced instability while sitting, you might be dealing with a damaged toilet flange. This common plumbing repair issue is simpler than it sounds once you understand the basics. Let’s dive deeper into this repair process.
Understanding the Toilet Flange
The toilet flange is a critical component that connects your toilet to the floor and the drain pipe. It’s typically made of PVC, but you might also encounter flanges made of rubber or metal.
A damaged flange can lead to leaks, unpleasant odors, and even damage to your flooring. Therefore, understanding its role and identifying issues early can save time and trouble in the long run.
Many homeowners might not be aware of the problems that arise from a compromised flange. If left unchecked, leaks can cause water damage and rot the subfloor. Regular inspections, especially in older homes, can identify such issues before they escalate. Those adept at DIY can often handle minor repairs, but severe damage might necessitate professional intervention.
Signs of a malfunctioning flange include a wobbly toilet, water pooling at the base, or unpleasant odors. Addressing these symptoms promptly can prevent further damage. Moreover, a well-functioning toilet flange ensures the efficiency and reliability of your plumbing system. This small yet crucial component plays an integral role in maintaining a hygienic environment.
Gathering Your Tools and Materials
Before beginning your plumbing repair, gather the necessary tools and materials. You’ll typically need a new flange, wax seal, screwdriver, wrench, putty knife, and potentially a hacksaw. Having these items on hand will make the repair process smoother and more efficient. Preparation is key in any repair task to avoid unnecessary delays.
In addition to the primary tools, consider having a bucket, sponges, and towels ready in case of water spills. Protective gloves and eyewear are also recommended for personal safety. It’s important to work methodically and carefully to avoid damaging the surrounding plumbing or fixtures. Planning the steps you will take can also aid in a successful repair.
Moreover, double-check that the replacement flange fits correctly. Flanges vary in size and material, so it’s crucial to select one compatible with your toilet and plumbing. If unsure, bring the old flange to a hardware store to compare. Being fully equipped will help facilitate a faster repair.
Removing the Old Toilet Flange
Start by turning off the water supply and flushing the toilet to empty the tank and bowl. Disconnect the water line and remove the toilet by undoing the bolts at the base. With assistance, lift the toilet away to reveal the flange. The wax ring might present a sticky residue, removable with a putty knife.
Inspect the old flange for significant damage before deciding to replace it entirely. Unscrew the retaining bolts and carefully lift the flange out. If the flange is glued or cemented in place, use a hacksaw to cut it out. Be gentle to avoid damaging the drain pipe. Once removed, clean the area thoroughly before proceeding.
With the flange out of the way, assess the condition of the drain pipe. Damage or corrosion might require additional repairs. Ensure the surface is even and clean to guarantee a snug fit for the new flange. This step is crucial to avoid leaks and ensure a stable installation. Taking careful measurements at this stage can be crucial for the replacement step.
Installing the New Toilet Flange
Place the new flange into the drain, ensuring it’s level with the floor. Secure it with screws or bolts, making sure it’s tightly fastened to prevent movement. Many modern flanges accommodate slight adjustments, useful if the alignment isn’t perfect. This flexibility is beneficial in ensuring a precise fit. Check the manufacturer’s instructions for specific installation details.
Once the flange is securely in place, position a new wax ring onto it. Ensure it sits evenly without gaps to prevent leaks. The wax forms a seal between the toilet and flange, maintaining dry conditions. Double-check the alignment before proceeding with the reinstallation of the toilet. Proper sealing is essential in avoiding future water damage.
With the flange and wax ring ready, carefully lower the toilet onto the flange. Ensure the mounting bolts align correctly with the toilet base holes. Tighten the bolts gently, ensuring a secure yet stable toilet base. Over-tightening can lead to cracks in the toilet porcelain. Once satisfied, reconnect the water supply and test for leaks.
Final Checks and Maintenance Tips
After reinstallation, observe the toilet for any signs of leaks during the first few flushes. If all components were appropriately aligned and tightened, the flange should function seamlessly. If issues persist, such as rocking or dampness, troubleshoot quickly to avoid further complications. With regular maintenance checks, you’ll extend the life of your plumbing components.
Periodic inspection is advisable to ensure the flange and toilet remain in optimal condition. Checking the tightness of bolts and the integrity of the wax seal can prevent minor issues from becoming severe. Bathroom environments are prone to wear and tear due to moisture, emphasizing the importance of maintenance. Quick, routine checks can save on later repair costs.
Moreover, addressing small issues quickly often forestalls larger, more expensive repairs. Learn to recognize early warning signs that your flange might need attention. Keep tools and materials on hand for minor fixes, ensuring you’re prepared for any issues that arise. Staying proactive is key in plumbing repairs and maintaining a hygienic living space.
In conclusion, replacing a damaged toilet flange can seem daunting but is manageable with the right approach. With proper preparation and attention to detail, this plumbing repair can be completed effectively, ensuring a stable and leak-free toilet. This process not only fixes existing issues but also enhances the longevity and efficiency of your bathroom setup.